
I saw a clock work bird named a Tocker in a popular video game called Team Fight Tactics. Though unrealistic of a design being in a fantasy world. More to point, a video game. The more i played, the more I realized the simplistic concept he started with, which was a ball with a beak and eyes was something i could build.
Modeling the ball
My tool of choice for modeling is, well, my web browser. I have found that Tinkercad has been one of the least complicated modeling tools i have been able to learn. Modeling is not my day job, nor should i ever expect it to be! There is some serious limits with what Tinkercad can do in relation to SketchUp, or similar much more complex tools. However, this works for me.
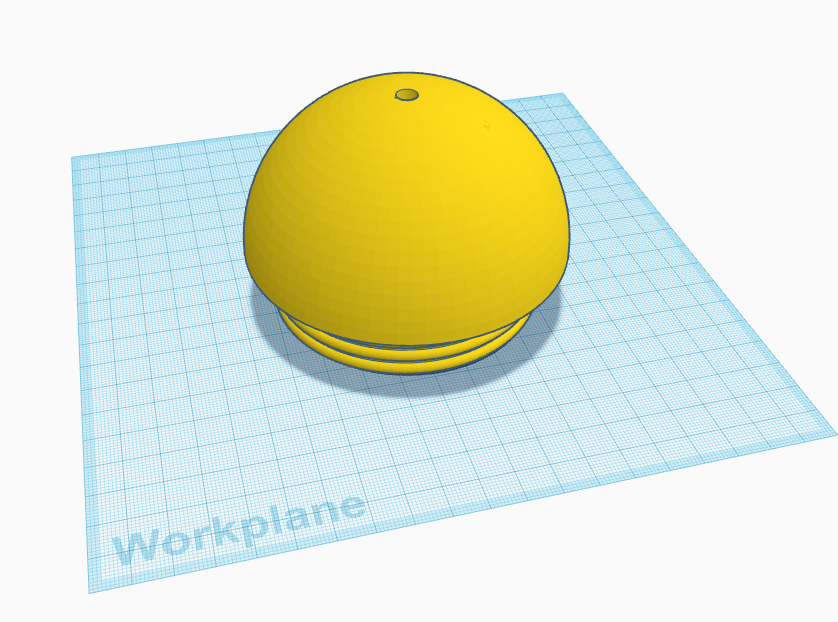
I started with taking a 3d sphere in tinker cad, and expanding to a reasonable size. In this case, reasonable means i could at least fit a single Raspberry PI zero, and a battery with some left over space for servos and wires. To simulate this i created a square box with the height and width to fit all of the above hardware. I then expanded the sphere to contain the box in the center. This was enough that any future size needed could be obtained though scaling the model.
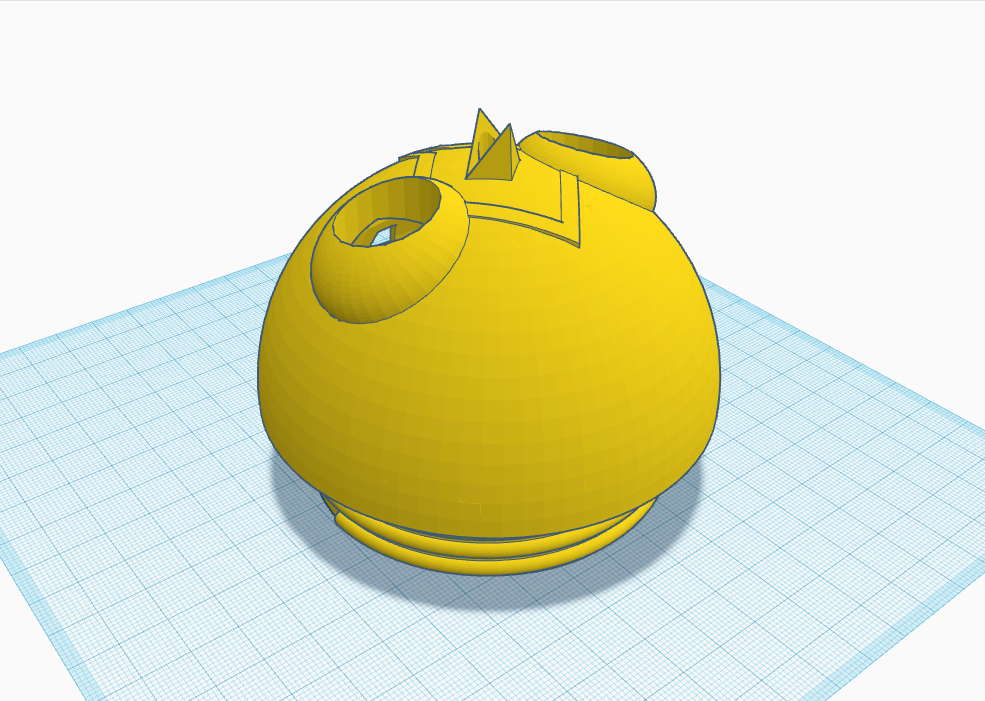
I had to hollow out the sphere while leaving enough of a wall not to sacrifice too much integrity. Followed by cutting the sphere in half for easy access to it's inside. The original Tocker did have what appeared to be a horizontal cut up to his face in which case the cut line simply vanishes. Obviously i needed a full cut line, and it was going to be a problem horizontal if i also wanted solid eye sockets. So i decided i needed to go with a vertical cut.
Deciding how re-attach the ball was going to be a challenge. Normally i depend on a typical dowel rod style attachment setup in my designs. While effective, it also tends to help hold the shape of objects that are tossed around. However, being i was likely to need constant access to the inside of the ball, i decided that dowels would most likely break.
Steam punk style braces where considered, and honestly i might still add them anyway because they look cool. However, ultimately i went with a screw design. Being able to screw, and unscrew the ball felt like the perfect medium for what i was looking for. After searching Thingiverse before trying to embed the nut, and bolt myself into the ball. I managed to find this. After modifications i was able to expand the screw ball to match the sphere i had just modeled exactly. Through some test prints, the ball was able to screw, and unscrew perfectly (provided it was printed without supports near the screw grooves).
Modeling the features
Features, consist of 4 separate models. Once they where each created they could be merged, or wrapped with the ball.
The eye sockets
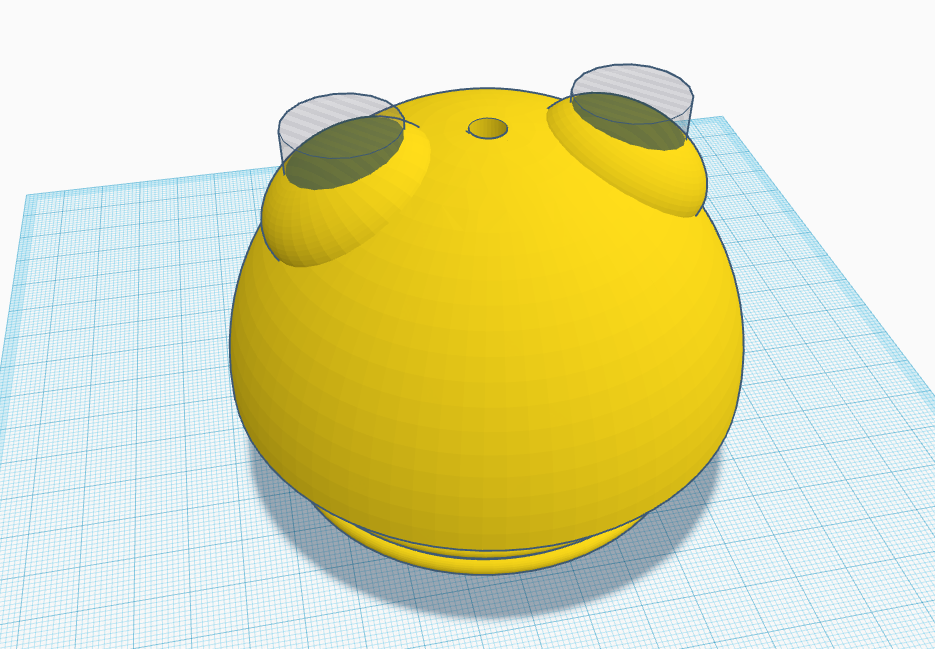
The eyes from my perspective where simplistic. The previous ball i had created before finding the the screw ball was resized, duplicated and hollowed out a second time to match the size of the camera lenses i was planning to use. The incredibly difficult part was calculating and then measuring to the exacting placement with the slight offsets for each eye to provide a clean widescreen merged image, in addition to being used as separate sources.
The face plate
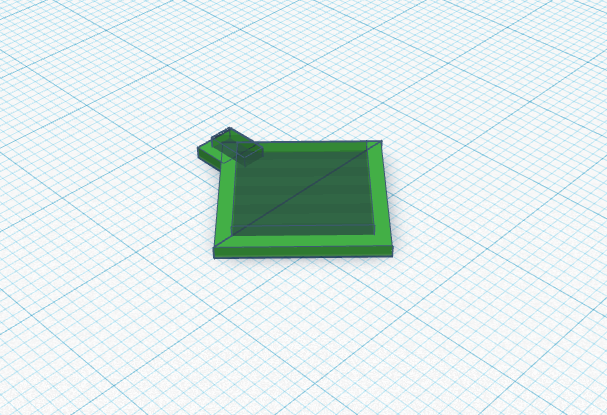
The face plate was one of the more difficult things for me to model. Like I've stated before modeling is not my job, and i am not a professional. It took me some time to wrap my head around the shapes i needed to combine to create the face plate. More difficult was how to actually wrap the face plate around a circular surface area.
The antenna
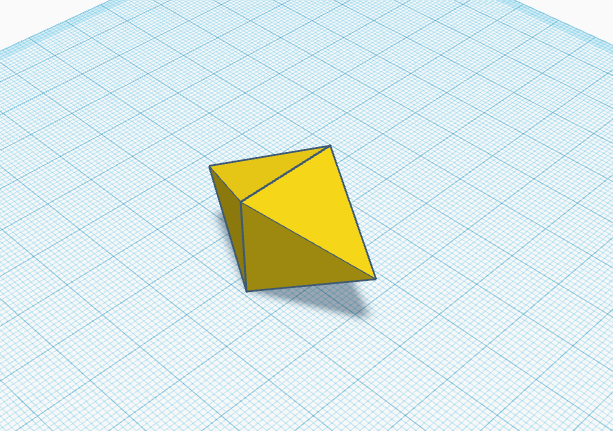
The antenna was pretty easy after having completed the other two models already which where far more challenging and educational. More or less the antenna is just 4 triangles formed into 2 diamonds all merged together. I then duplicated it and used the second to hollow out the first so that a small antenna, and circuit board, and 2 wire can fit inside.
The beak
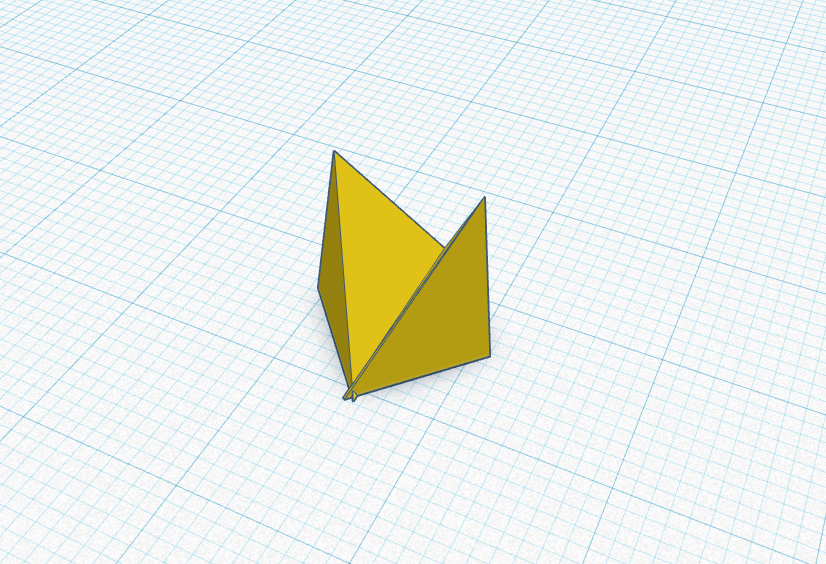
I had tried a few variations on the beak. The first was using half of the diamond from the antenna as a beak triangle. This worked well enough, but since i planed to add a speaker for audio. It made more sense to open the mouth. So i cut the triangle in half, and carefully split it until it formed an open looking mouth, with, enough of a hole for audio to pass though from a speaker behind it.
What's next
While part of the goal of this project has been to bring to life a Tocker from Team Fight Tactics. The ultimate goal has been to create a telepressence unit that can travel with me. Providing a birds eye shoulder view of what i see and do. Automatically classifying objects around it, able to direct, and follow it's own curiosities. While also providing a pleasing interface for on looking humans to interact with the environment. Stay tuned for part 2!