
Not too long ago I had made a post about the pi-top and a child-hood dream I had of creating a modular "testing" PC for developers. With the joy, and success I had creating the previous pi-top. I decided to buy another one, this time in black!
The Idea
My day, to day job(s), consist of programming in JavaScript, and C# as well as managing a large farm of Servers, Web containers, Redis nodes, SQL servers, Database containers, Elastic pools and Storage pools in Microsoft Azure, Amazon Web Services, and physical on-site servers.
More recently, I have wanted to create my own cluster or cloud of computing power that was capable of performing various tasks... With heavy exposure to Microsoft Azure specifically and its concept of containers. I was finally inspired enough to create my own small cluster using Raspberry PI's and node.js.
I have very strong knowledge of clustered systems. However, it's not exactly the same thing as reaching the bare metal of what it means to be a cluster powerful enough to be called a cloud. Before attempting to create a large cluster of 64+ pis. I figured it might be a good idea to start smaller. I calculated that 5 pis would be enough to get a feel for power requirements, speed, code, and problems that arise from my selection of hardware, and language choices.
The Design
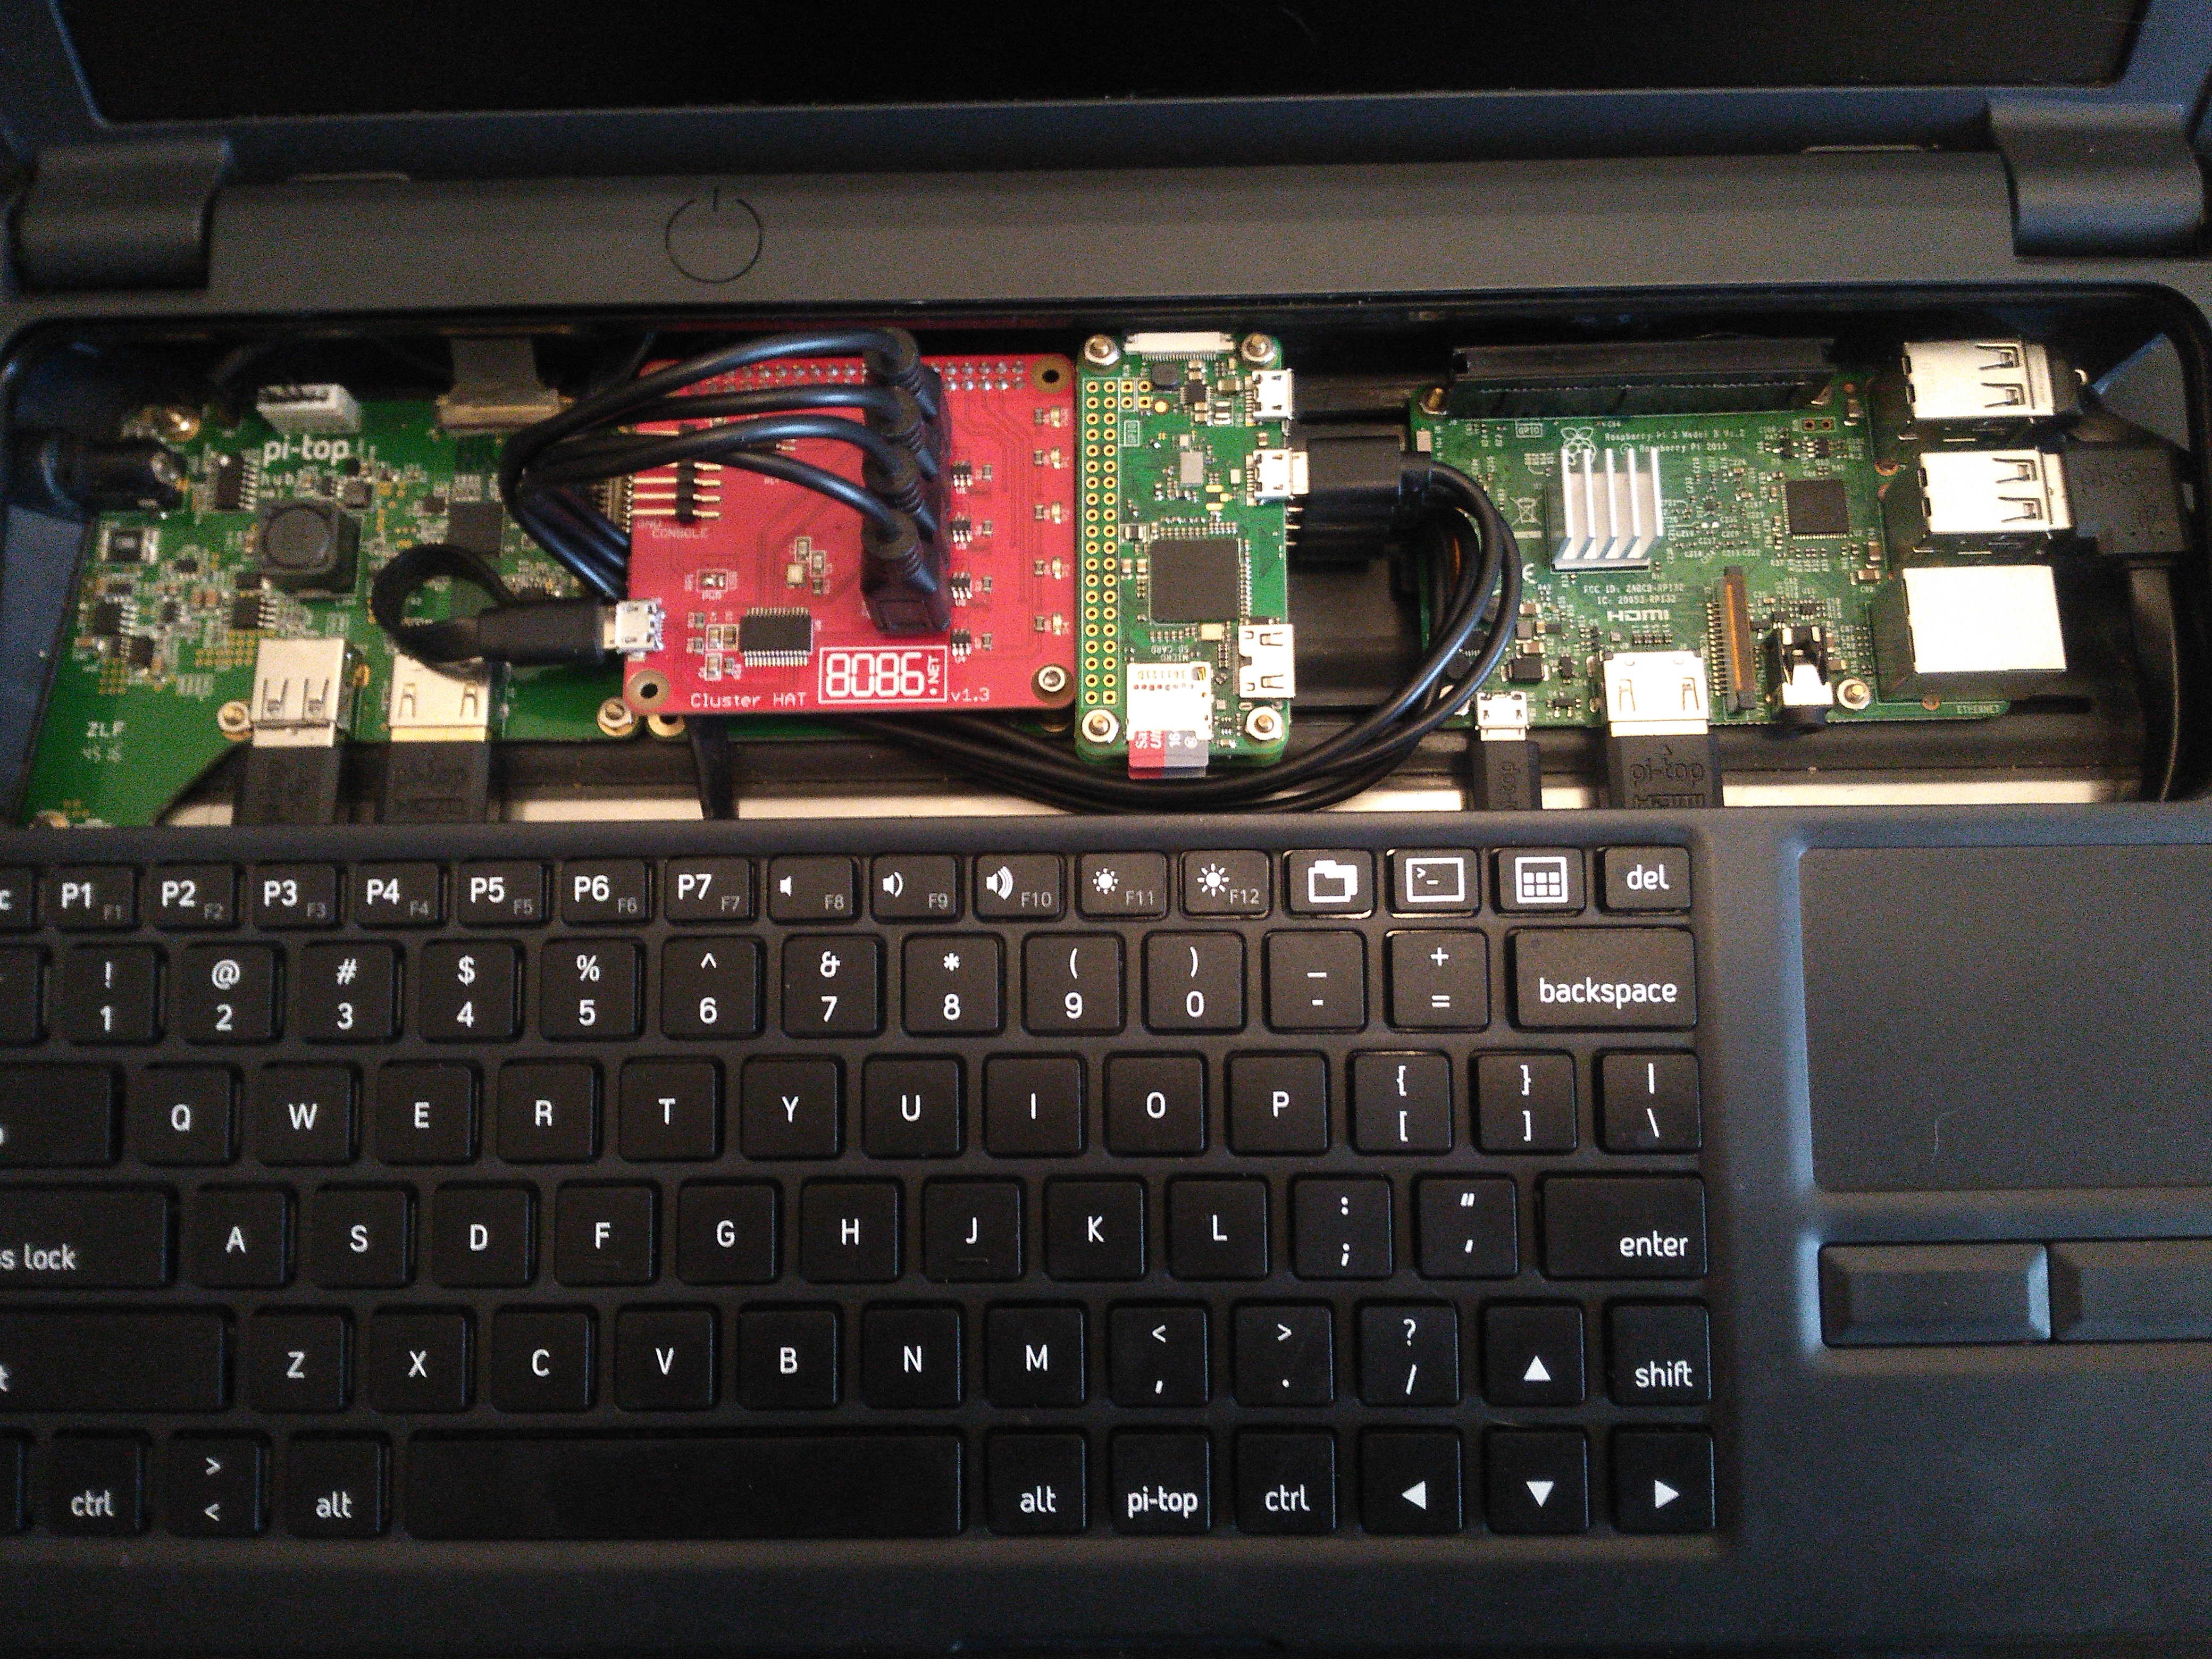
The basic structural design for the scalable cluster is based on a common 3d printable stackable core that includes room for a pi, heat sink, power, network cable, and a single RGB led, and wiring. Originally, I was just going to make the first 5 stackable cores as the smaller prototype cluster. Then I got the idea to use the newly ordered pi-top! The idea of a portable cluster that could be used for education seemed like a great idea!
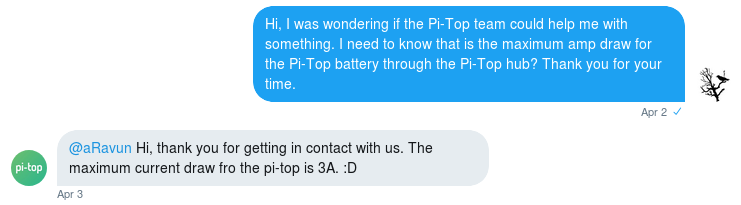
After contacting the pi-top team on Twitter so I could verify the max amp draw that the pi-top hub could handle. I realized that while challenging due to space, and heat concerns. I looked like I could accomplish what i wanted.
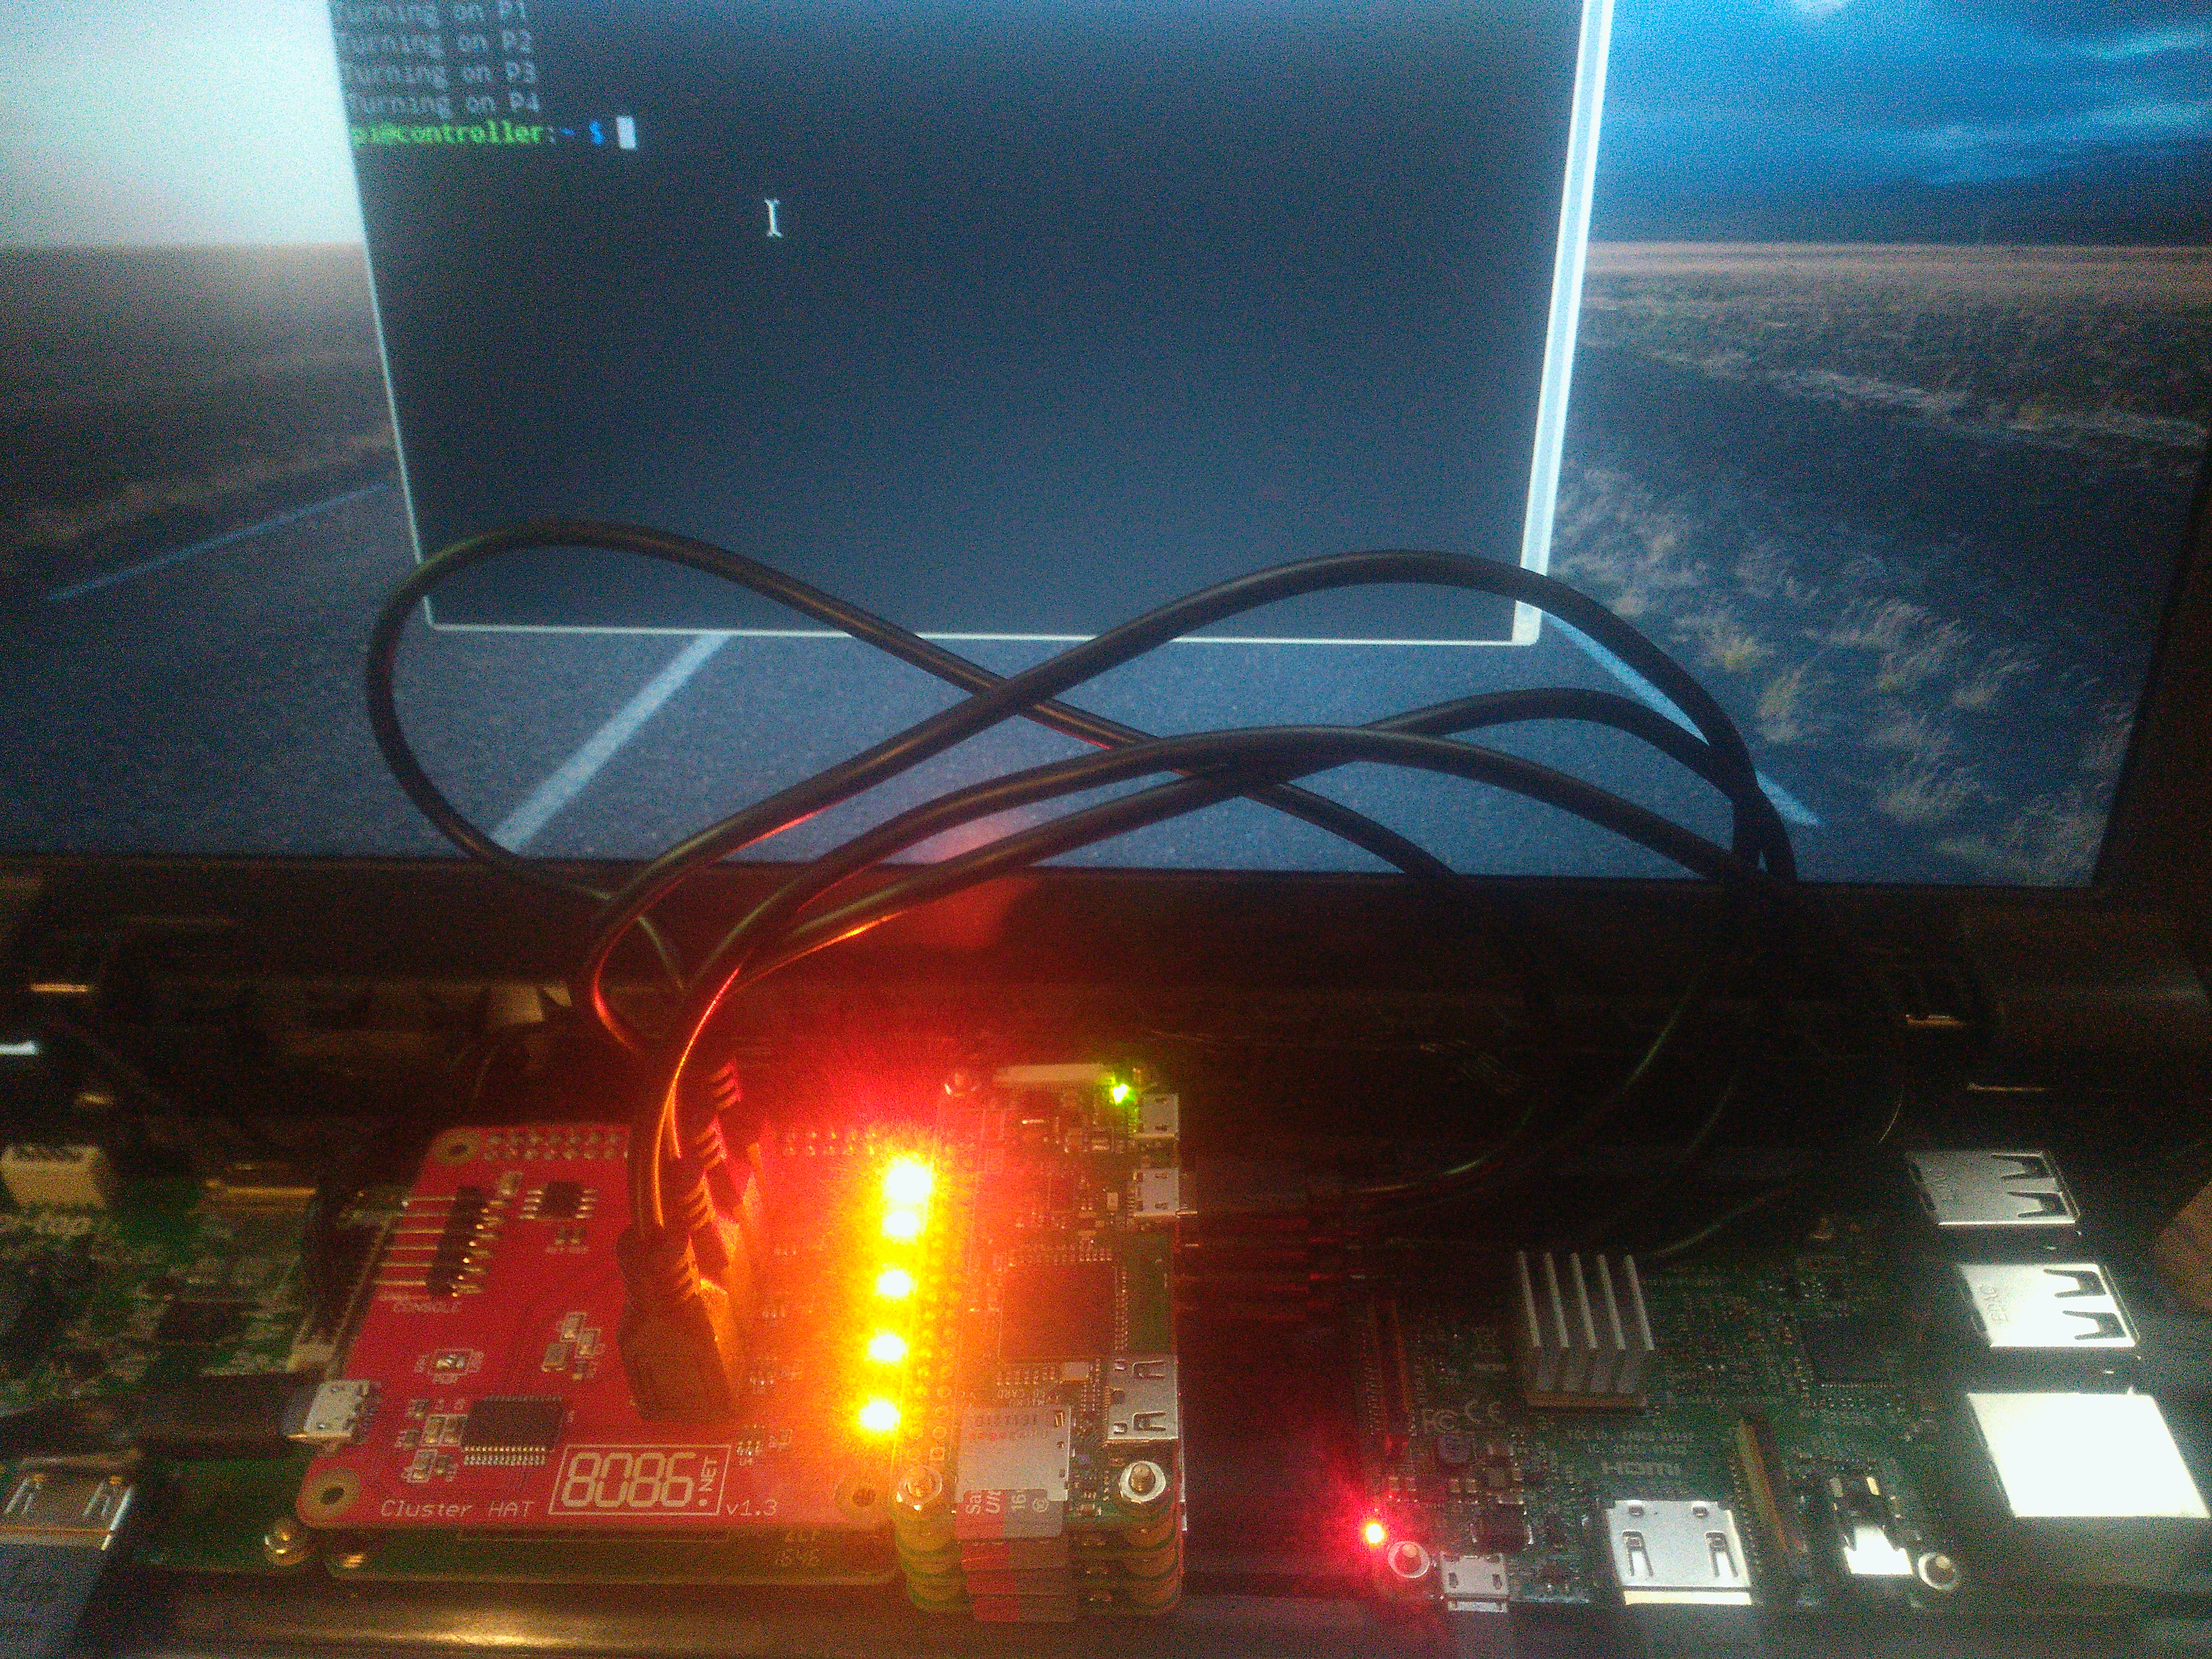
Space was a potential problem. There was absolutely no room for 5 raspberry pi 3's in a single pi-top case! Which, was the original idea behind the larger scalable unit. Thankfully, i realized after some research that the raspberry pi team had already solved this issue for clustered systems. The raspberry pi zero, while being less powerful than the raspberry pi 3 takes up just a fraction of the space, and power consumption! It also supports USB gadget mode! Which can be used to share network components and tty connections with another system. Better yet, the raspberry pi 3 has 4x USB ports which mean a single raspberry pi 3 should be able to handle 4x raspberry pi zeroes which is the exact number I wanted for a prototype unit!
The heat was my next concern. Though the raspberry pi zero does not put out anywhere near the level of heat that the raspberry pi 3 can. There would still be 4 of them stacked on top each other like a computing sandwich. I found though, after running them for 7 days computing a sample sha1 hash at max CPU load. This was actually not a problem as long as I left them running at their stock clock speeds. Though for good measure, I won't be running them with the acrylic top closed.
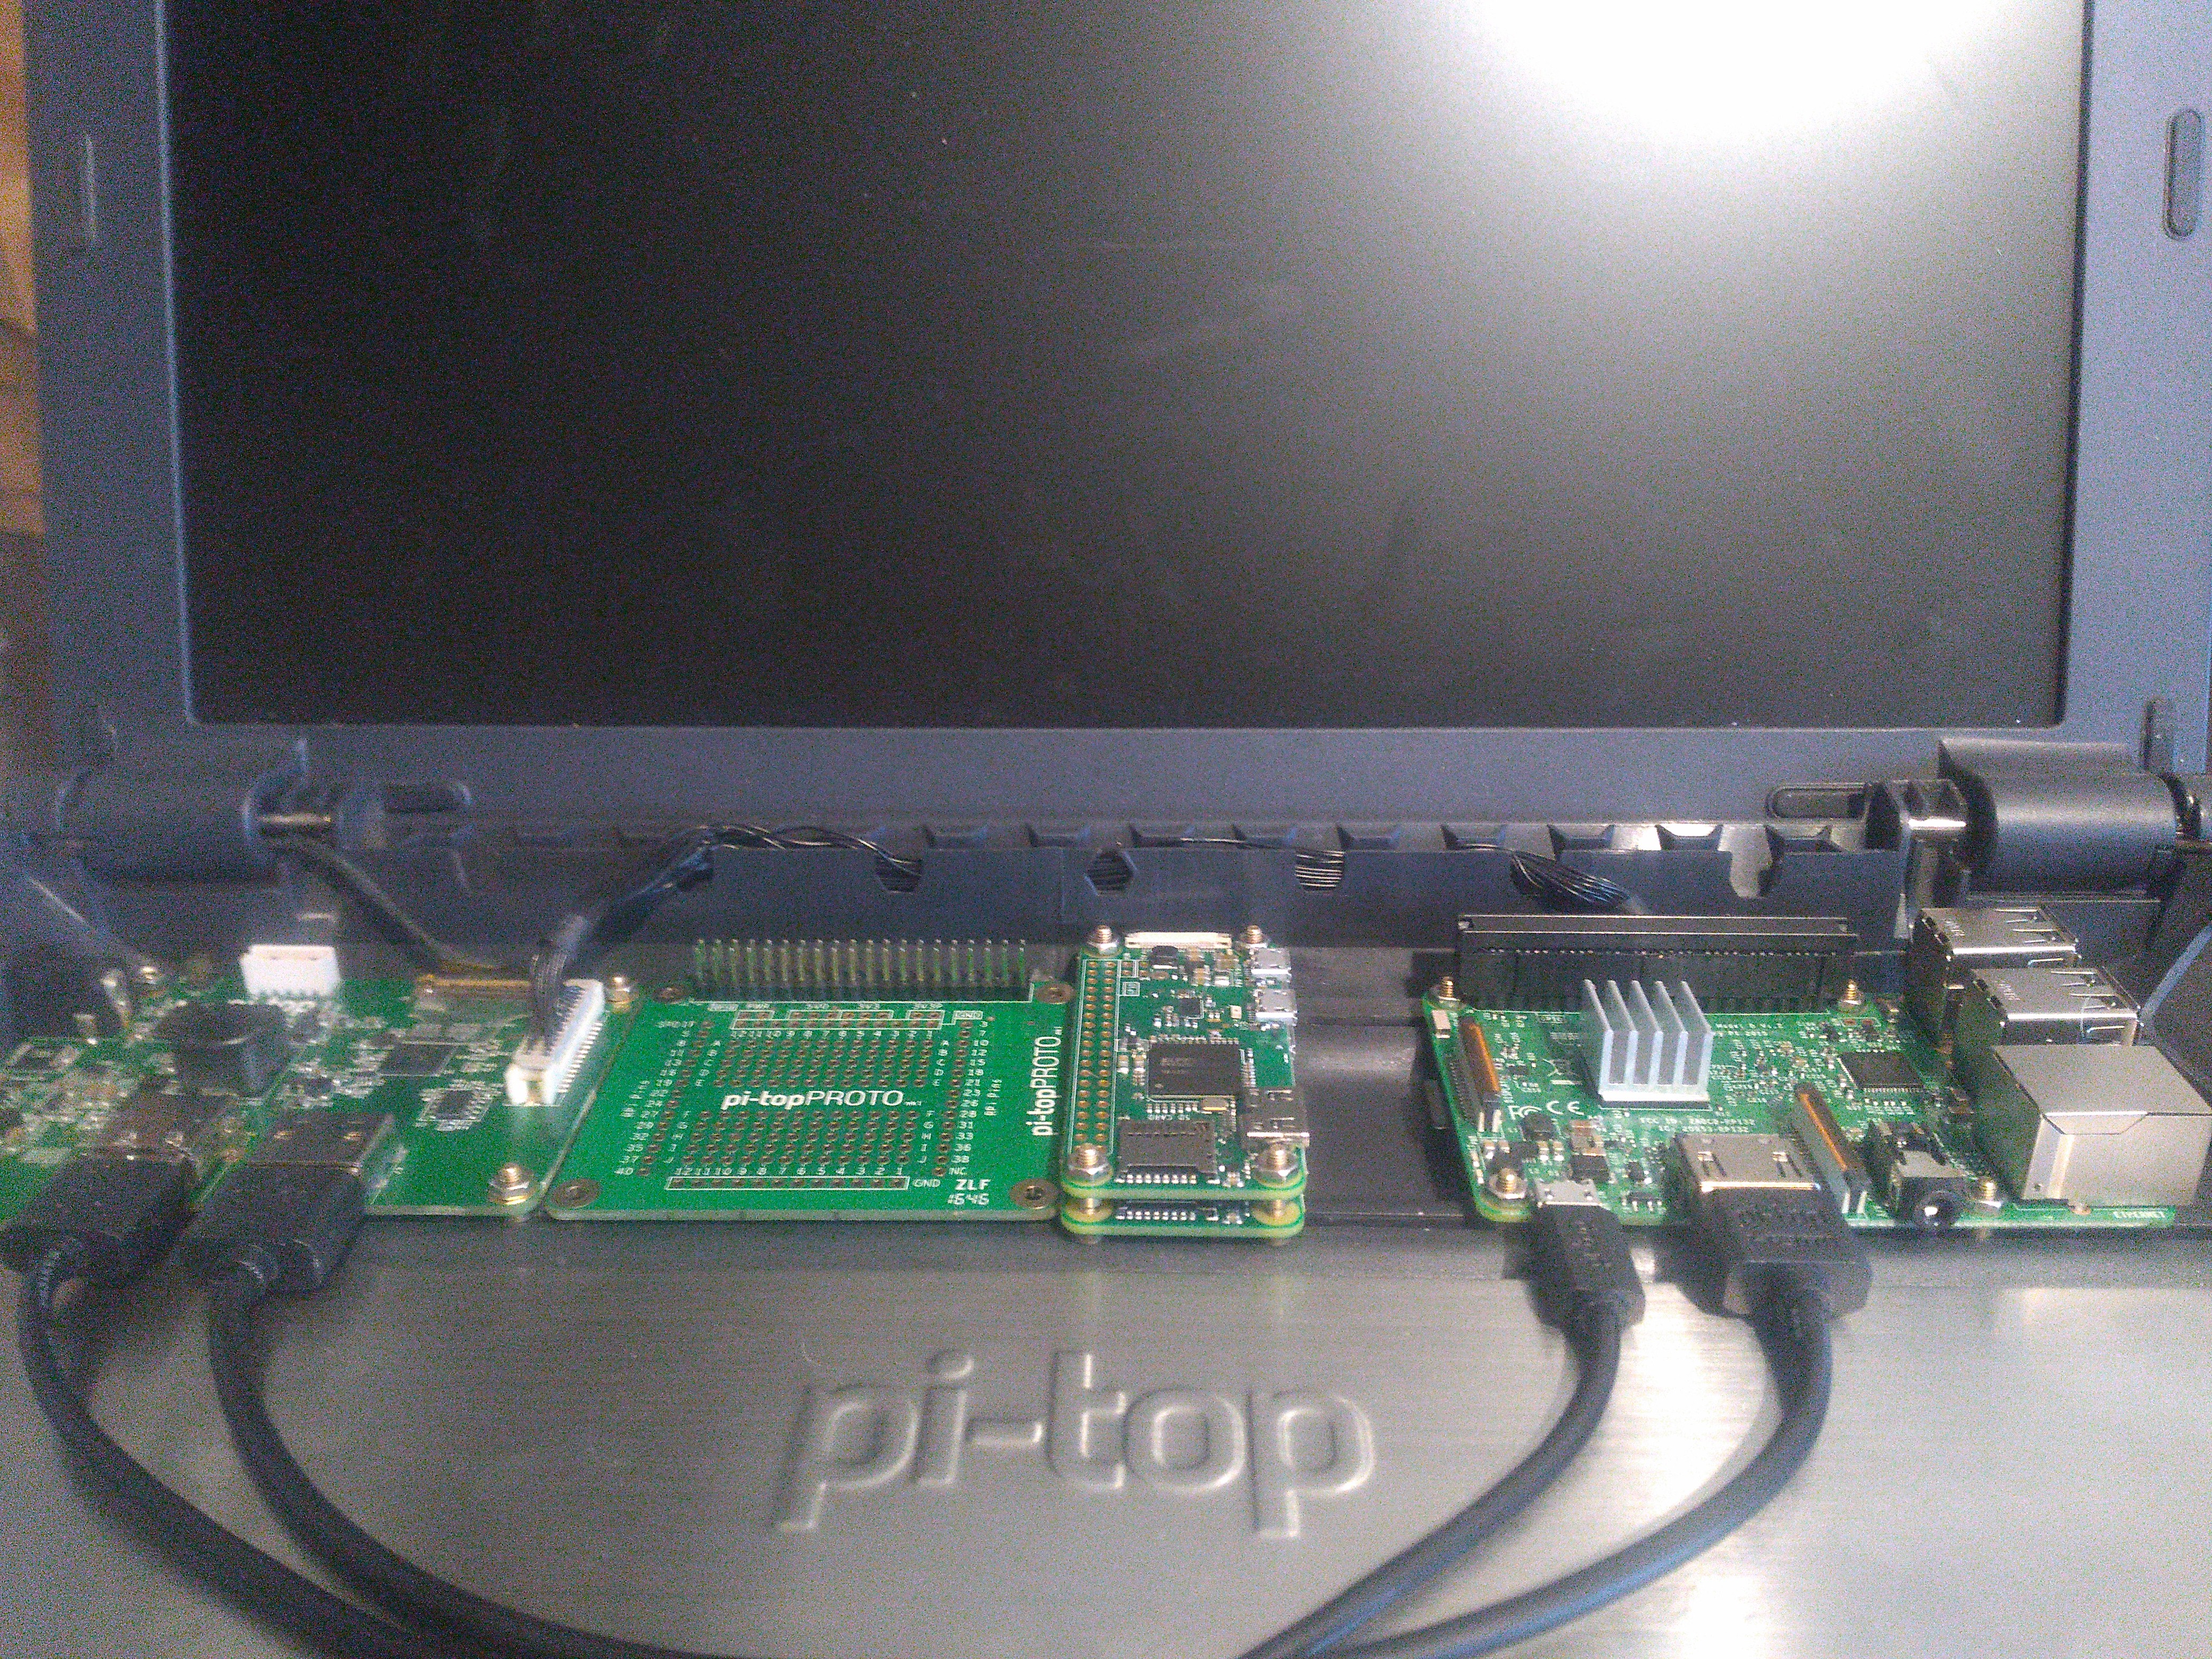
The final concern I had was the USB ports and power stability. While there was 4 of them, they're typically limited in power draw when using a shared rail. Running 4x pi zeroes did work, but you had to be careful powering them on or off too quick without causing them all to reboot. It also left me with no open ports for the keyboard and mouse that come with the pi-top. After much research, I honestly could not find a 4 port USB hub that would fit in the space I needed it too. Which turned out to be, about the exact space needed for a pi-top proto board. Without many choices, i was considering the difficulty of creating my own 4 port hub from the prototype board.
The Clusterhat
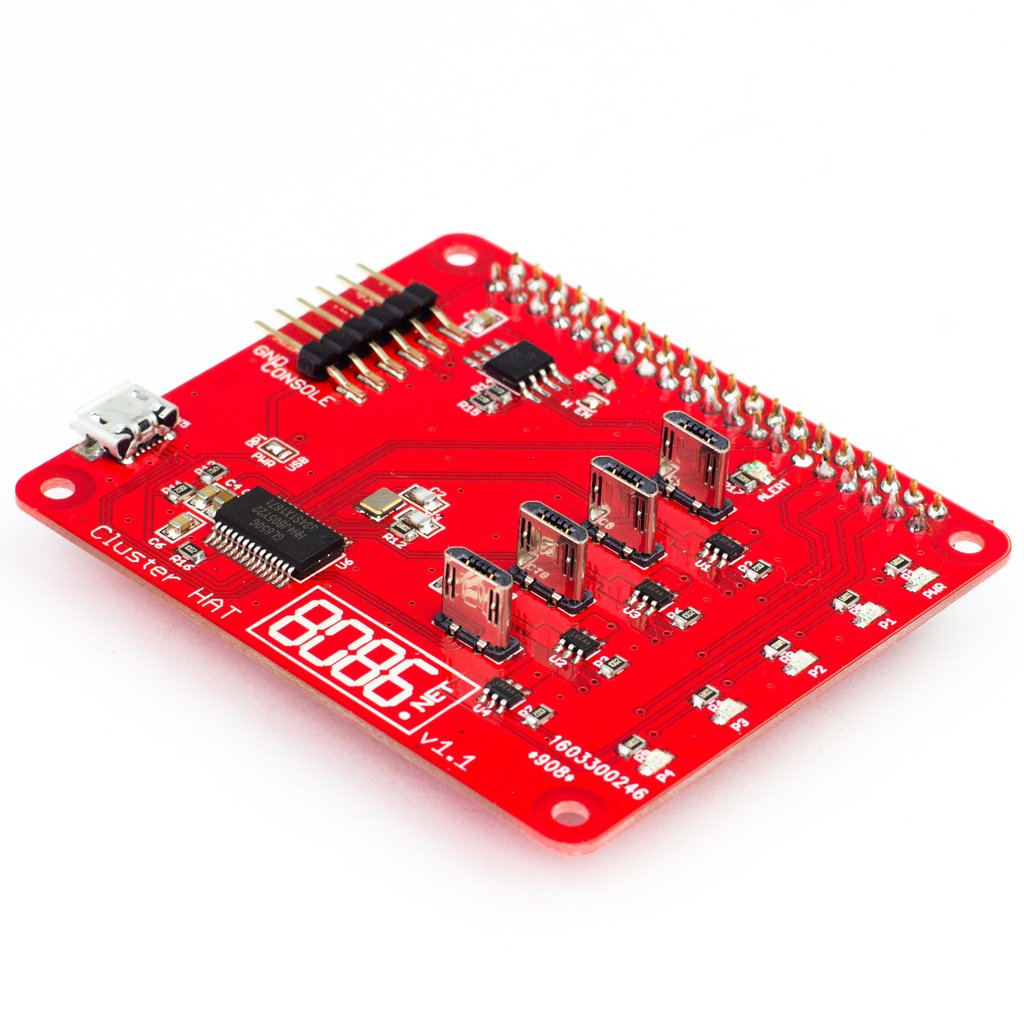
Though i could not find sutable USB hub to use. My best friend did! He showed me of an expansion board for raspberry pi called the clusterhat. Since the prototype board fit in the allotted space, and the clusterhat fit perfectly on top of the prototype board it turned out to be the perfect match to what I needed! The clusterhat also had the ability to turn the pi zeroes on and off via GPIO with only a 2-second delay on power up between pis and absolutely no delay on power off. The only problem I could find using the clusterhat was that there was not enough height after installation and the USB extension cables were attached that the acrylic lid would close. But because of heat concerns, this turned out to not be an actual issue since while running it would always remain off. When the USB extension cables disconnected, the acrylic top can still close for travel which was good enough!
The clusterhat does come with pre-built images for both the pi zeroes and the controller unit. I highly recommend using these images initially to confirm functionality of the board! However, it did not make sense for me to use their pre-built images for what I ultimately wanted to do. I decided to use the native images from raspberrypi.org for the zero and pi 3 and configured them myself for what I needed. This was just a personal choice. The clusterhat turns out to be very simple to configure for any OS that has access to GPIO tools. This would include the pi-top OS. Thanks to rricharz on github it turns out setting up the pi-top on other OS's, or just a fresh install is much easiar as well!
Freeing up the USB slots in the raspberry pi 3 also gave me room to expand resources for the cluster as a whole. Which turned out to be a low-profile san disk 64gb USB stick, and room for nn external USB fan to help with the heat concerns when the system feels it's getting too hot.
Once i had finsihed buiding the pi-top cluster. It was time to work on the setup, networking, and code that had to be written for the cluster to work. I figured if i could at least create a simple service that worked it could be replicated to other services as needed. Since most of the service I want to build is based on REST an HTTP/HTTPS service made the most sense to start with.
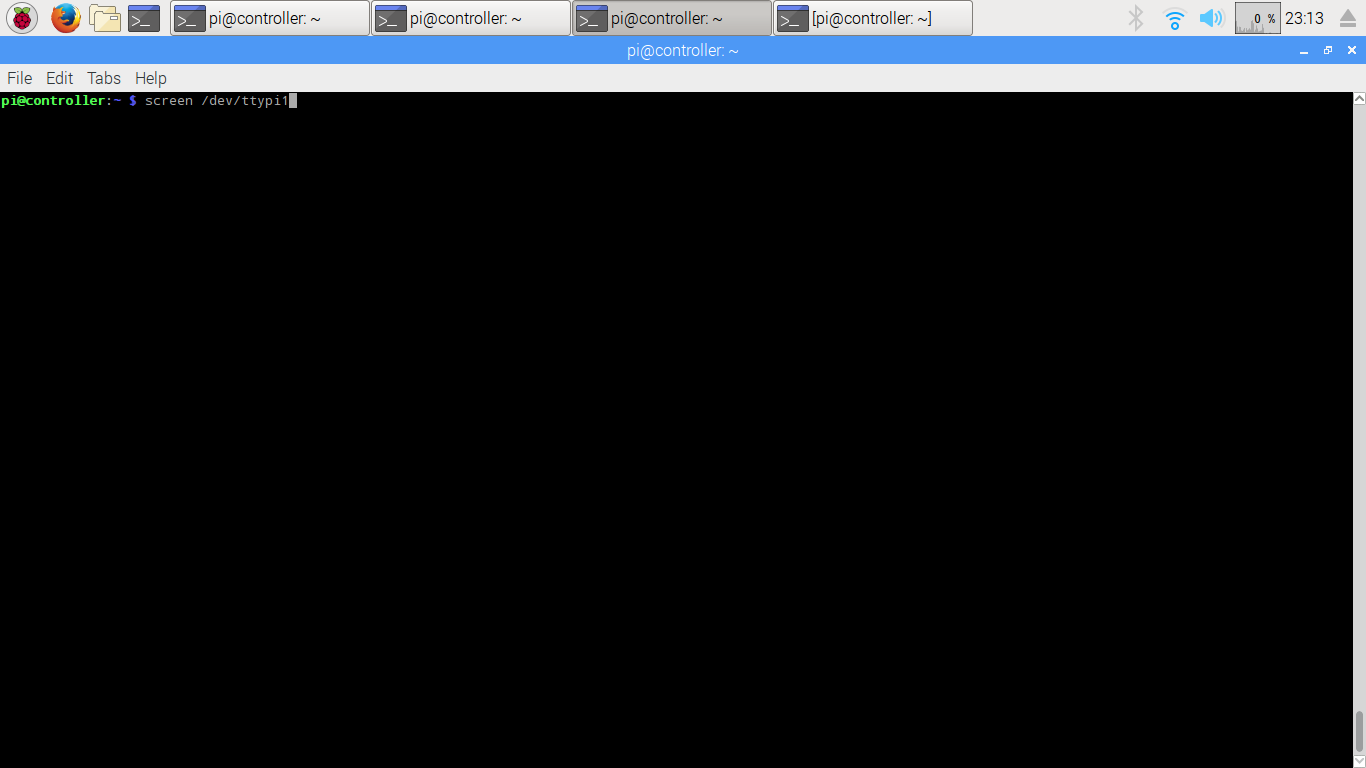
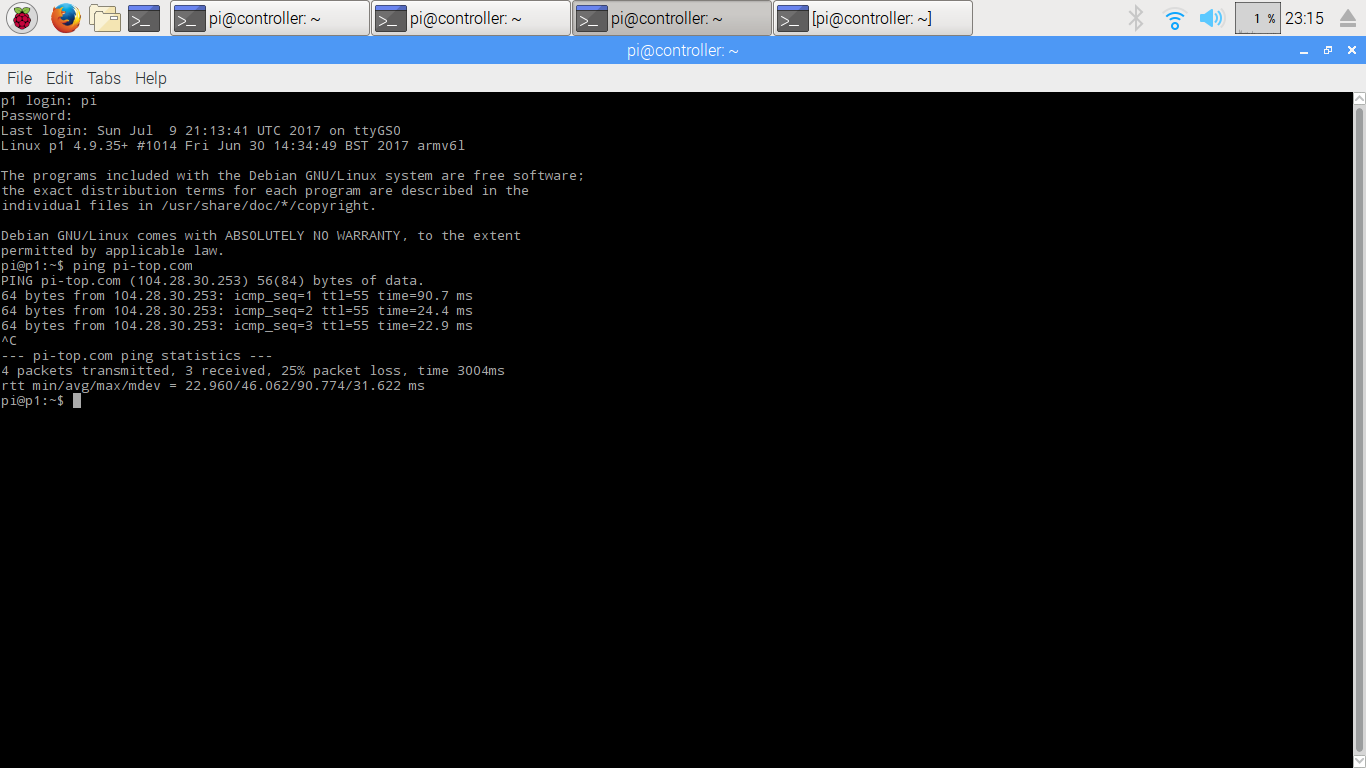
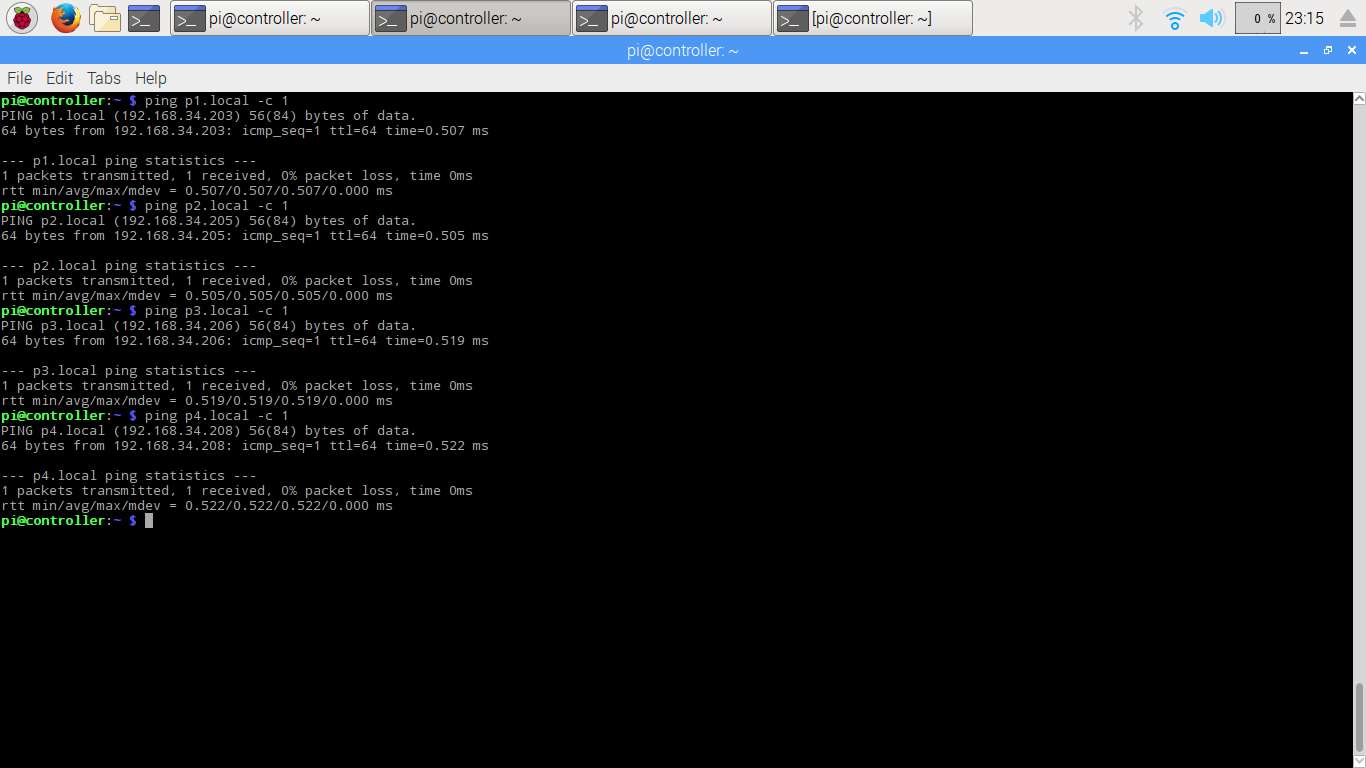
Thanks to USB gadget mode, and replicating the DNS changes from the original cluserhat images each pi can reference each other there *.local domain names. For example controller.local, or p1.local. This made routing easy enough. It also allowed for leaving ssh disabled on the zeroes as they could be reached using the same method that came over with the clusterhat. Each zero had a tty of ttypi
The Code
Short on time, i set out to prove the hardware and software could work as I wanted them to. I created a node.js module called rpi-clusterhat that allows me to control the clusterhat using GPIO utils. I also created a singular HTTP proxy service using node.js. It will randomly route incoming requests to one of the zeroes. If that zero is not powered, it will power the zero. Then redirect the user to pi-top.com (will change later to redirect to services). If a zero has not gotten any traffic in 10 minutes, it will turn off that zero. Very basic just enough to show the hardware and software can work together! The code for the basic proxy and future work on the project can be found here.
The Plan
My goal now is focus on code and what my overall plan will be for the larger cluster that this is supposed to represent. While i can use existing Linux based cloud services such as OpenStack to control the system. I feel like even with the clusterhat's ability to control power to the zeroes. The lack of virtualization makes it hard to create a dynamic package of software for the cluster that such systems would demand.
I think my best best will be to create sandboxed node.js instances and bring forward control of npm on each zero to the controller. This way dynamic software packages can be loaded, or removed depending on the use case the zero has to run at that time.
I decided not to include steps to replicate this cluster due to the length this post would of ended up being. When time permits i will create a detailed blog post on how to build your own pi-top cluster! Updates will be coming over the years for this project so make sure to follow my github and this blog!
This blog post was written on pi-top cluster featured above!
Hardware
- Pi-Top Case
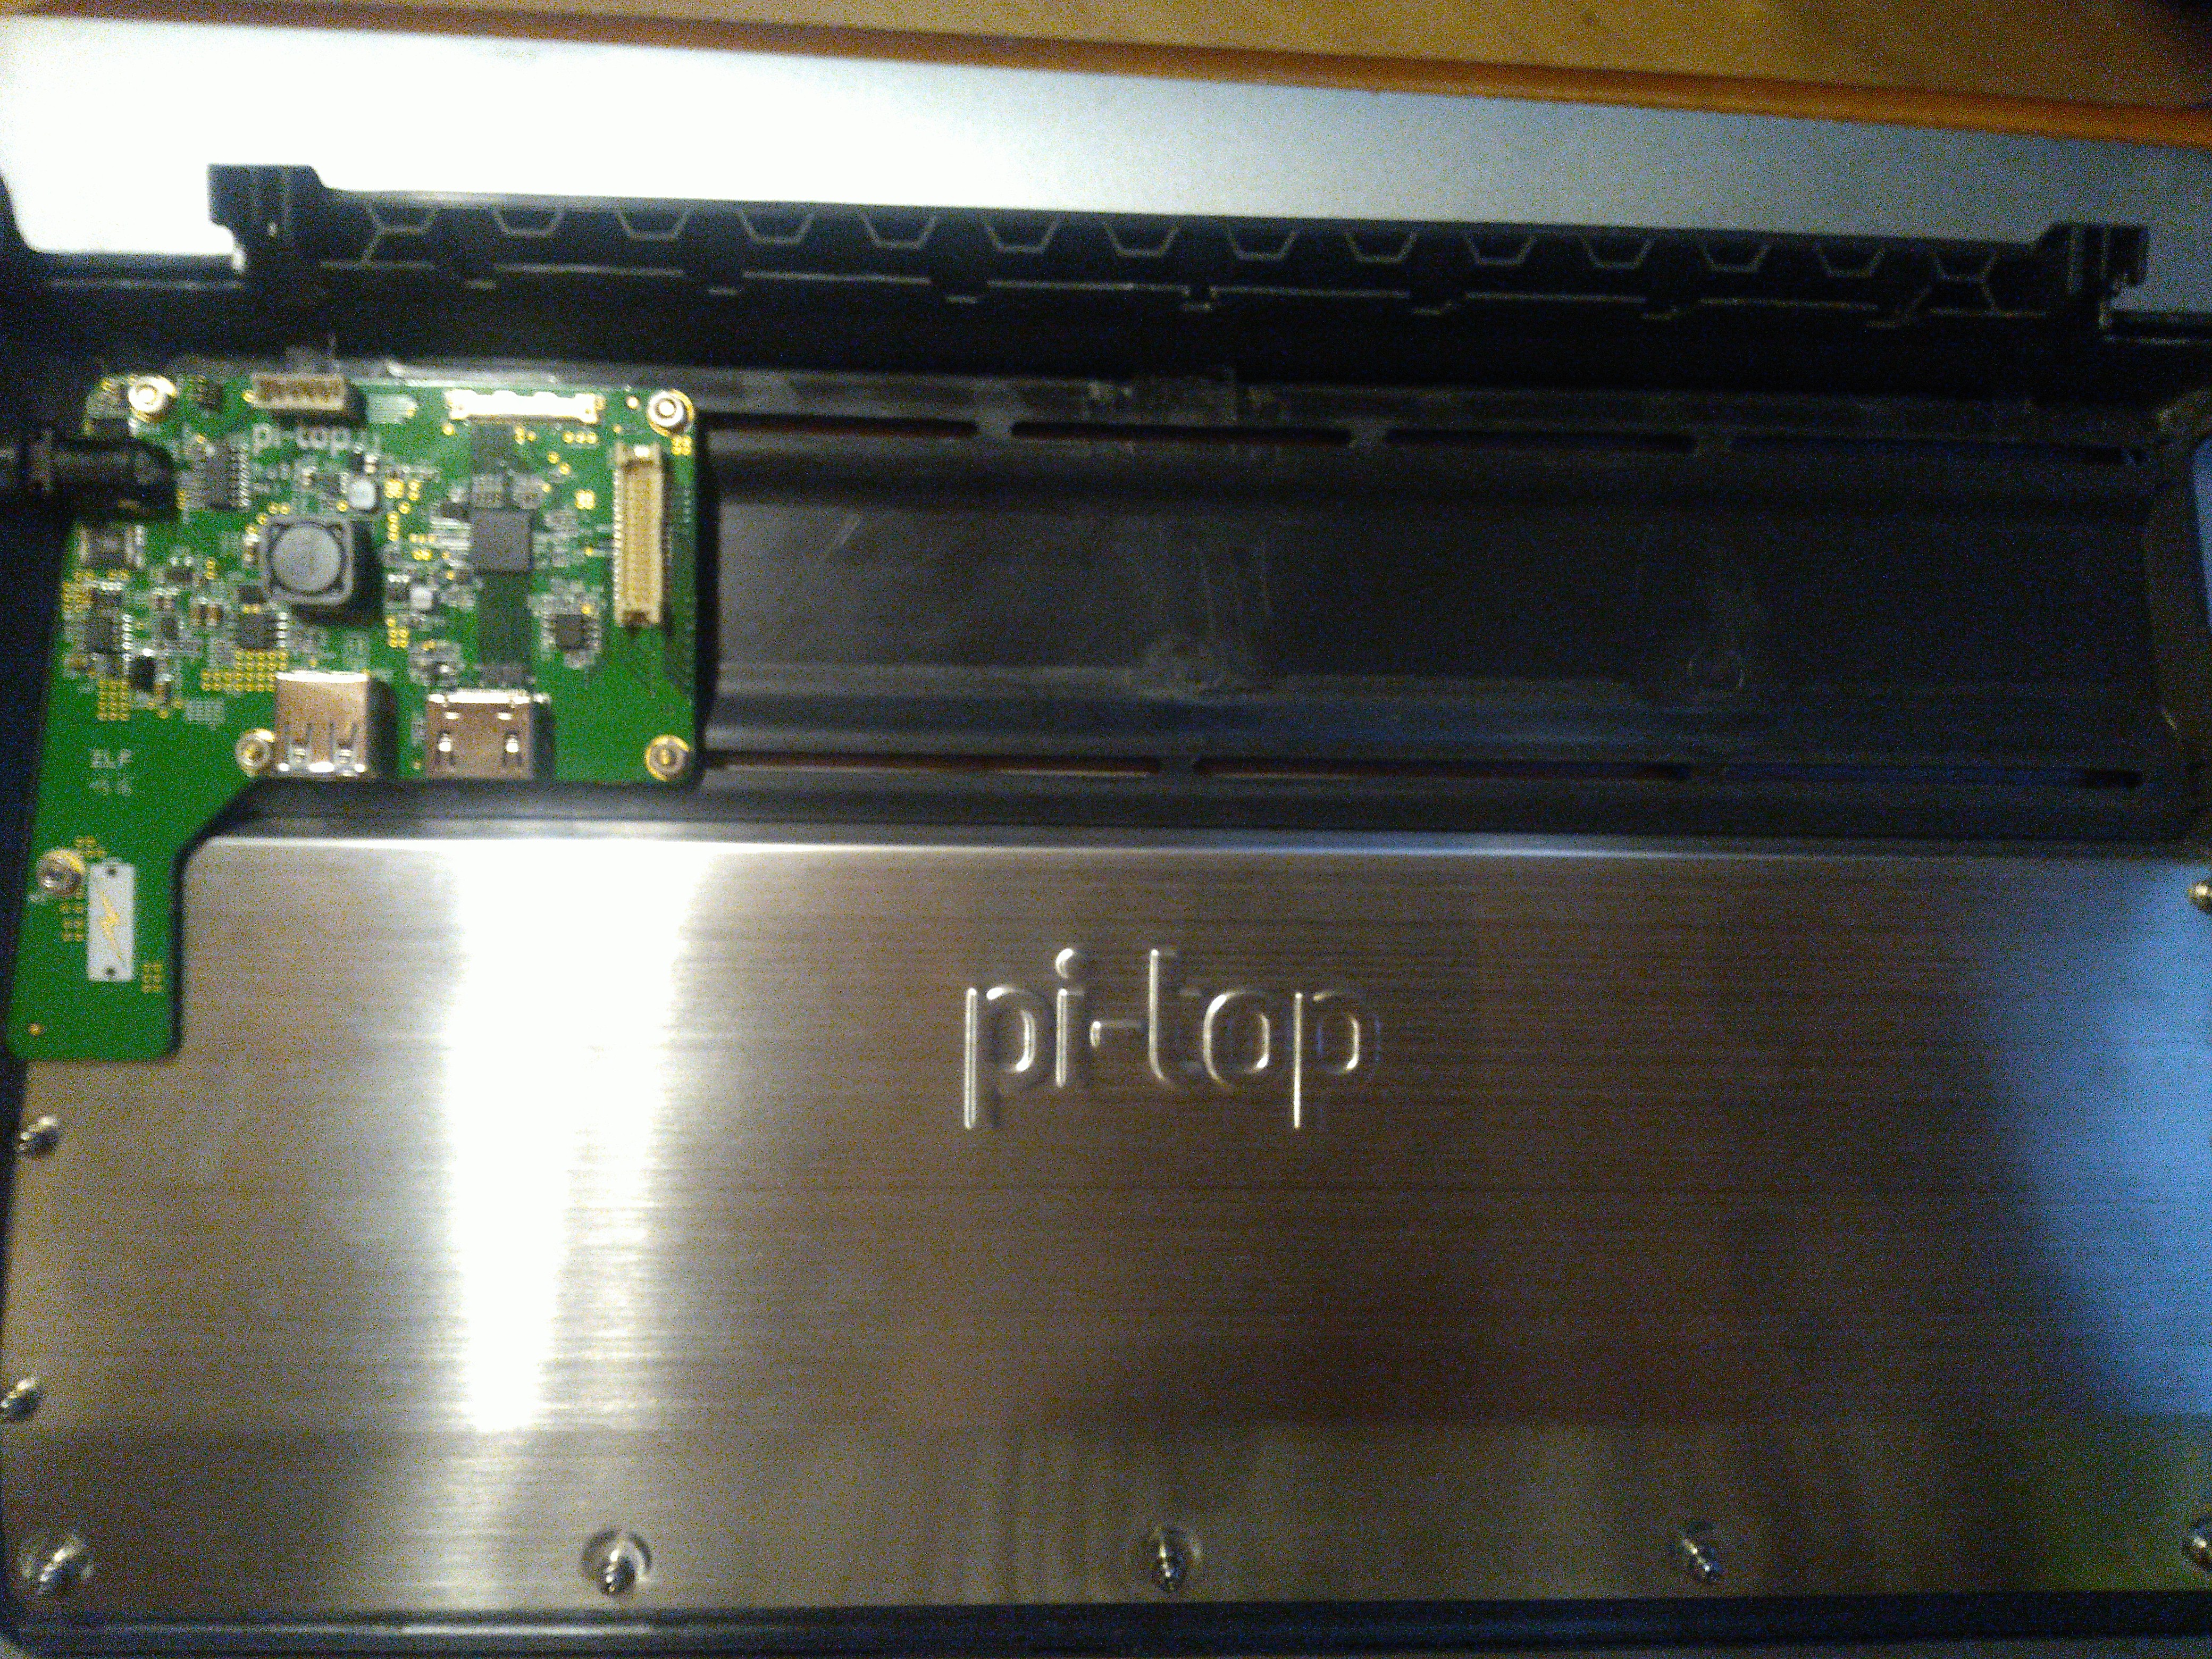
- Pi-Top Hub
- Pi-Top Keyboard & Mouse
- Pi-Top Monitor
- Pi-Top Battery
- Pi-Top PROTO
- Raspberry PI 3 (Controller)
- Raspberry PI Zero x 4 (p1 - p4)
- Clusterhat
- MicroUSB Male to MicroUSB Female Cable x 4